Keep the window.
Move yourself.
One Window, Three Angles
Before adding another light, take three deliberate viewpoints of the same simple setup. Notice how much of the photograph changes without buying anything.
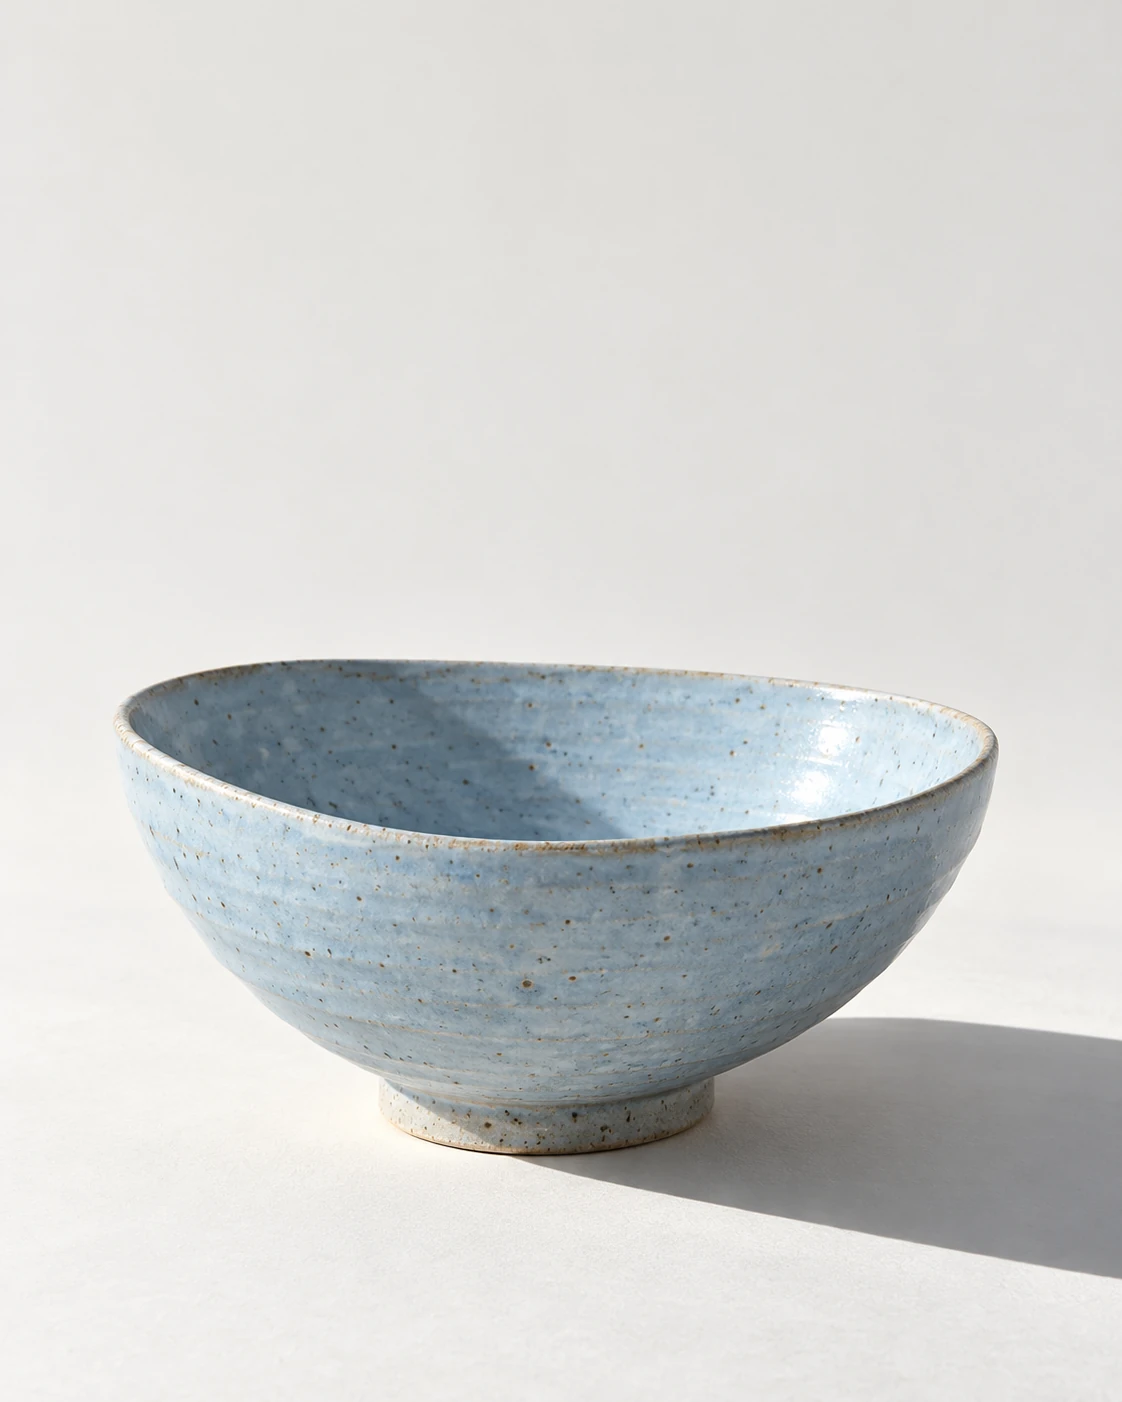
The question
When a photograph feels flat, the first instinct is often to add light. A more useful first experiment is to leave the window where it is and change the relationship between the camera, the object and that window.
ILLUSTRATIVE SETUP / NOT TO SCALE
Adjust the positions to the piece and the room.
At the table / Three decisions
01
Begin near the light.
Make a frame with the window more behind the camera. Notice how much of the object is evenly lit and which shape cues become quiet.
02
Walk toward the side.
Move to a view where the window is more to the side. Watch the shadow cross the form. Keep the rim and foot visible while you compare.
03
Look toward the light.
Try a view that brings the window further behind the piece. Watch the edge and the reflections. A white card can help you examine the shadow side without adding another lamp.
These are observation positions, not a list of correct angles. The shape of the piece, the size of the window and the room around it all matter. What works for a bowl may not show the handle of a mug well. Keep the useful question in mind: what does someone need to understand about this object?
Turn off the overhead light for the experiment so there is one main light source to observe. Put the piece on a stable surface and mark its position with a small piece of removable tape outside the frame. That makes it easier to compare decisions without accidentally changing everything.
Take a frame at each position and look at them together. Avoid deciding that the most dramatic one is automatically the most useful. One may explain the silhouette, another may show the inside, and another may describe the glaze. A good collection can include more than one answer.
Once you find a useful viewpoint, move a white card in and out on the shadow side. You are not trying to erase all shadow. You are trying to find how much information you want to retain there. Record the position, then give yourself permission to adjust it for the next piece.
EDITOR’S NOTE · This is original demonstration copy written for a fictional prototype. A photography educator should review the technical wording and replace synthetic imagery before a real launch.
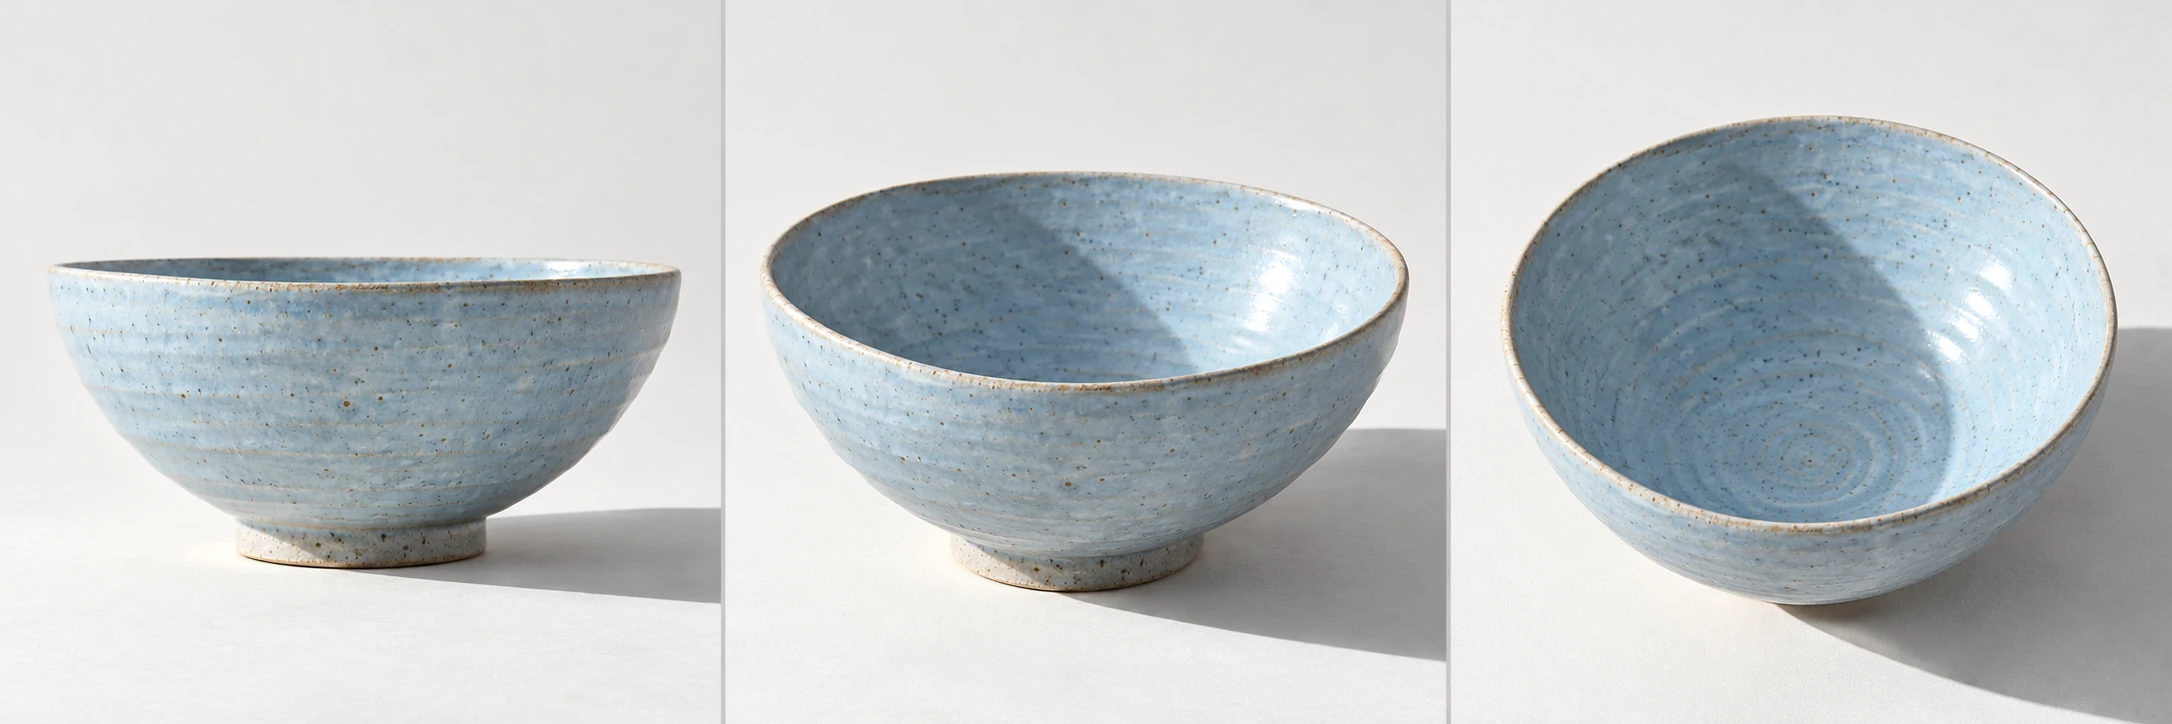
Three frames are often more useful than three more lights.
Before you put the setup away
A small
checklist.
- The experiment uses one main light source.
- The object stays in a repeatable position.
- Each view answers a different visual question.
- The final set shows more than one aspect of the piece.